For many years, the Church of Jesus Christ of Latter-day Saints (also known as Mormons) have been celebrated for their warm hospitality and love of good food. Whether it’s a family gathering or a community event, sharing a meal with others is an integral part of Mormon culture. In this article, we’ll take you on a culinary journey through the world of Mormon cooking, highlighting 20 authentic recipes that are sure to become new favorites in your household.
From comforting casseroles and hearty stews to sweet treats and savory snacks, these recipes showcase the diversity and flavor of Mormon cuisine. Whether you’re a lifelong member of the Church or just looking for some delicious inspiration, these dishes are sure to delight your taste buds and bring people together around the table.
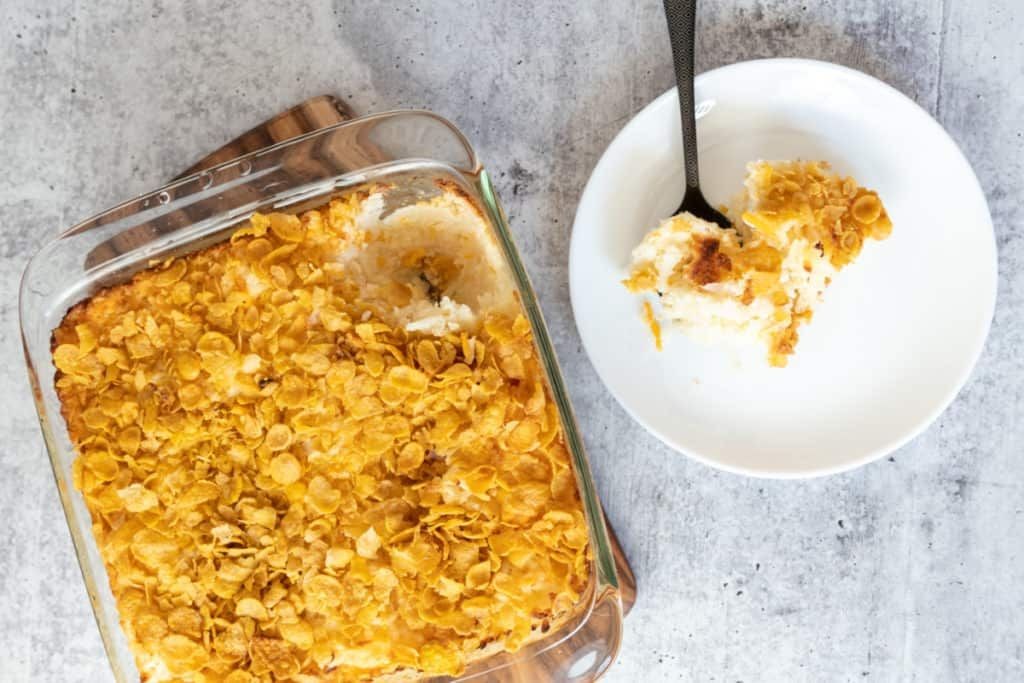
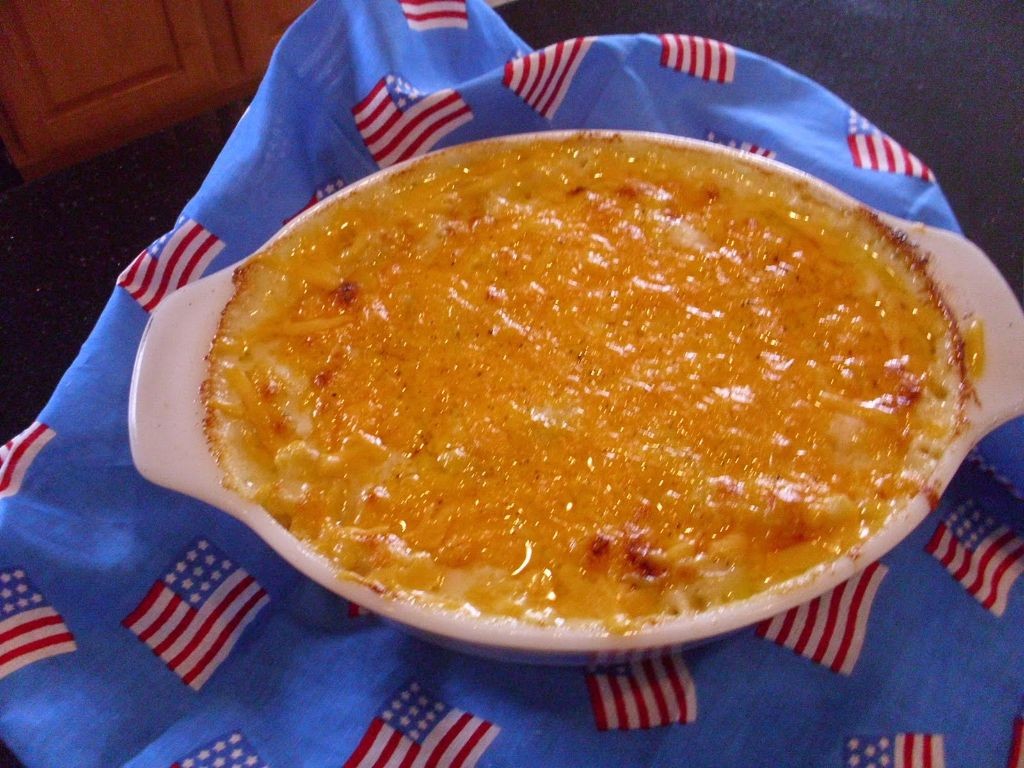
Funeral Potatoes with Cheese and Cornflakes
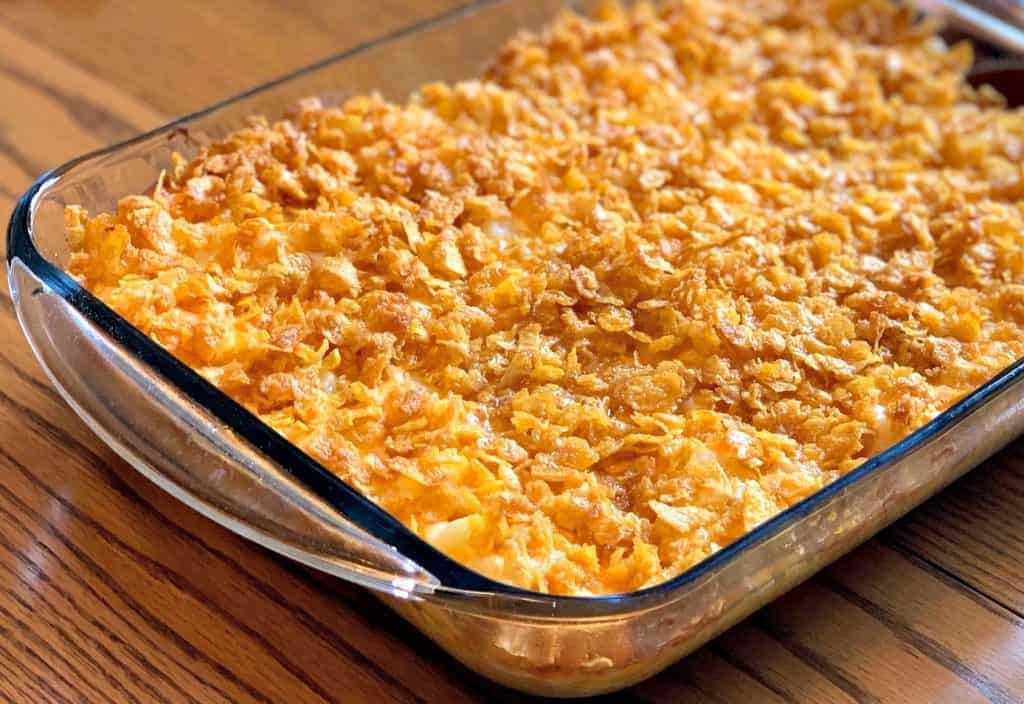
A comforting, creamy side dish that’s perfect for family gatherings or potlucks.
Ingredients:
– 1 (16 oz) package of hash browns
– 2 cups shredded cheddar cheese
– 1/4 cup Cornflakes crumbs
– 1/4 cup melted butter
– Salt and pepper to taste
Instructions:
1. Preheat oven to 350°F.
2. In a large mixing bowl, combine hash browns, shredded cheese, and Cornflakes crumbs.
3. Add melted butter to the mixture and stir until well combined.
4. Transfer the mixture to a 9×13 inch baking dish.
5. Bake for 45-50 minutes or until golden brown on top and hot throughout.
Cooking Time: 45-50 minutes
Homemade Mormon Muffins with Honey Butter
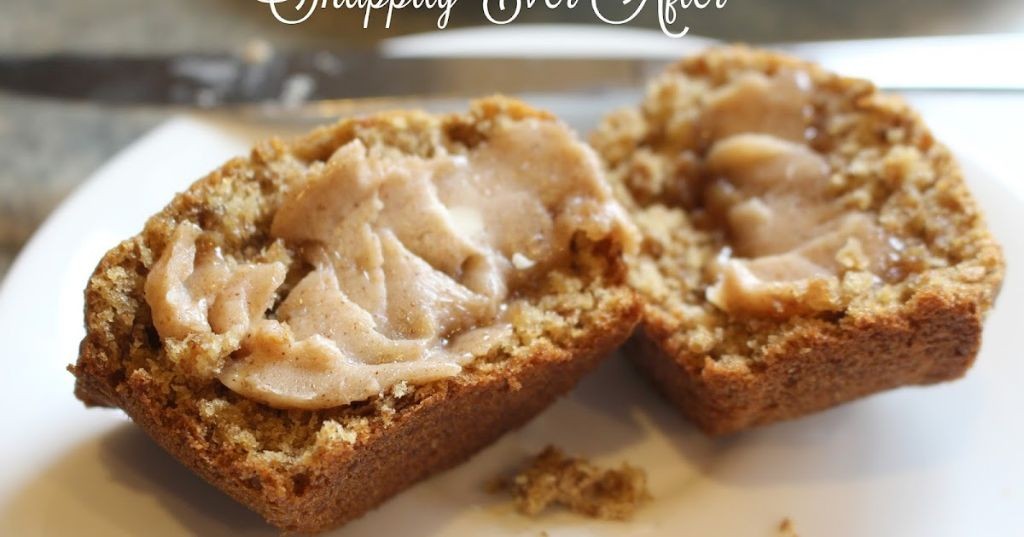
These tender, buttery muffins are a classic Utah treat that’s perfect for breakfast or a sweet snack.
Ingredients:
– 2 cups all-purpose flour
– 1 cup granulated sugar
– 2 teaspoons baking powder
– 1/4 teaspoon salt
– 1/2 cup unsalted butter, melted
– 1 large egg
– 1/2 cup milk
– Honey Butter (recipe below)
Instructions:
1. Preheat oven to 375°F (190°C). Line a 12-cup muffin tin.
2. In a medium bowl, whisk together flour, sugar, baking powder, and salt.
3. In a large bowl, whisk together melted butter, egg, and milk.
4. Add dry ingredients to wet ingredients and stir until just combined.
5. Divide batter evenly among muffin cups.
6. Bake for 20-25 minutes or until golden brown.
Honey Butter:
– 1/2 cup softened unsalted butter
– 2 tablespoons pure honey
Mix honey and butter until smooth. Serve warm on top of muffins.
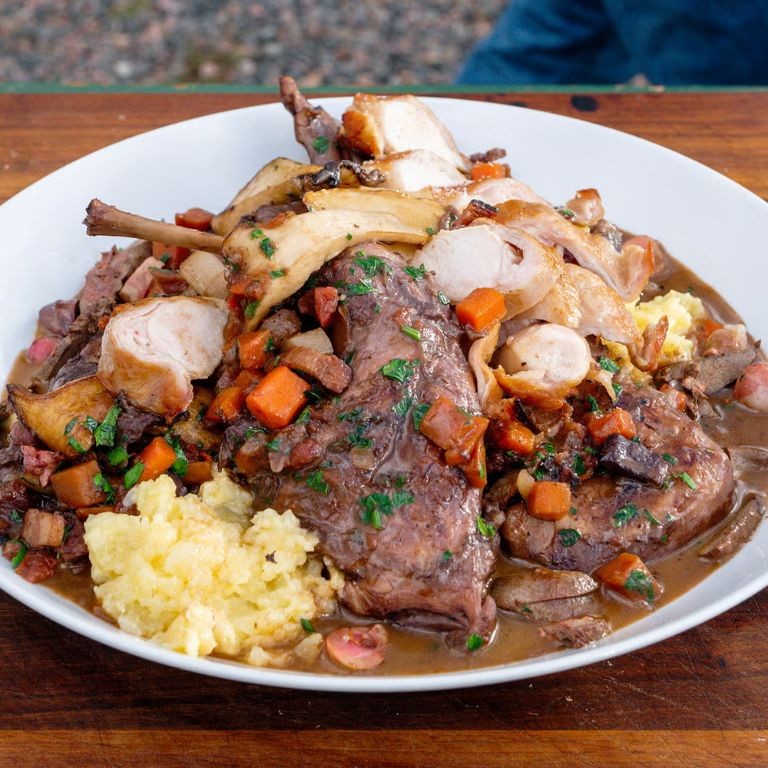
Classic Mormon Pioneer Stew
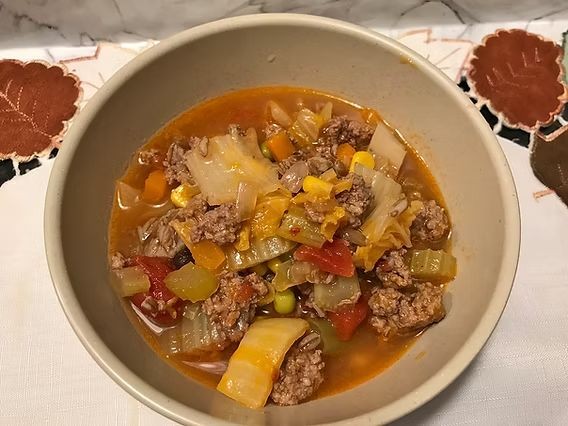
This hearty stew has been a staple of Mormon pioneer gatherings and family meals for generations, providing comfort and sustenance to those who need it most.
Ingredients:
– 1 pound beef cubes (such as chuck or round)
– 2 medium-sized potatoes, peeled and cubed
– 1 large onion, chopped
– 3 cloves garlic, minced
– 1 cup all-purpose flour
– 2 cups beef broth
– 1 can (14.5 oz) diced tomatoes
– 1 teaspoon dried thyme
– Salt and pepper to taste
Instructions:
1. In a large pot or Dutch oven, brown the beef cubes over medium-high heat until browned, about 5 minutes.
2. Add the chopped onion, minced garlic, and flour to the pot. Cook for an additional 2-3 minutes, stirring constantly.
3. Gradually add the beef broth, diced tomatoes, and thyme to the pot. Bring to a boil, then reduce heat to low and simmer for 1 hour.
4. Add the cubed potatoes to the stew and continue to simmer for another 30-40 minutes, or until the potatoes are tender.
Cooking Time: Approximately 2 hours
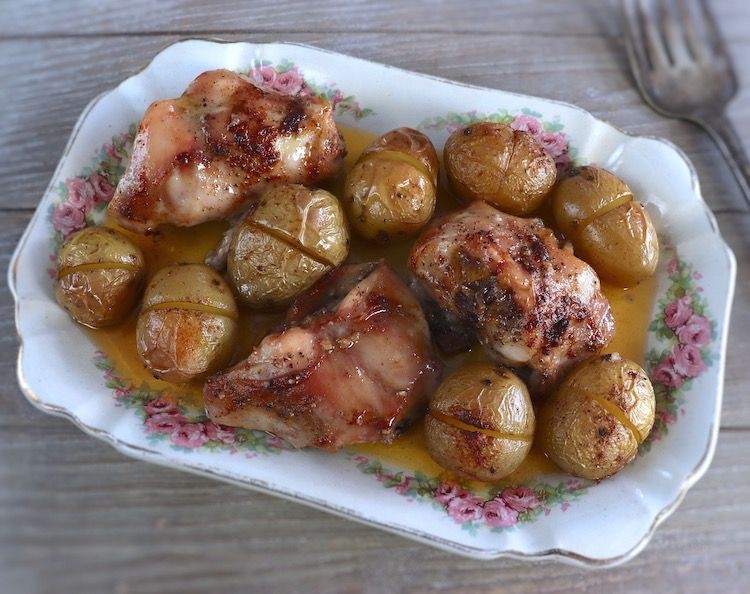
Sweet and Savory Mormon Haystacks
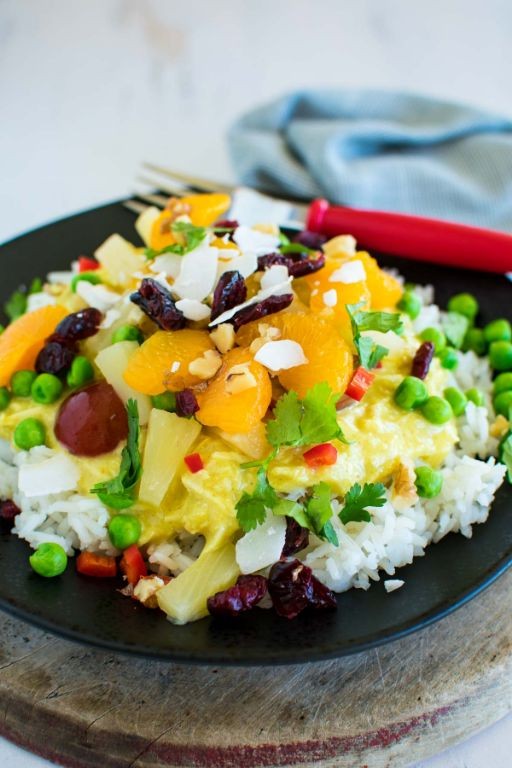
This classic recipe combines sweet and savory flavors to create a dish that’s both comforting and impressive. Perfect for potlucks, family gatherings, or casual meals.
Ingredients:
– 1 cup cooked chicken (such as leftover roasted chicken)
– 1 can of condensed cream of mushroom soup
– 1/2 cup frozen peas and carrots
– 1/4 cup chopped onion
– 1/4 cup chopped fresh parsley
– 1/4 cup crushed crackers (such as Ritz or Saltine)
– 1/4 cup shredded cheddar cheese
– Salt and pepper to taste
Instructions:
1. Preheat oven to 350°F (180°C).
2. In a large mixing bowl, combine cooked chicken, cream of mushroom soup, peas and carrots, onion, parsley, crushed crackers, and shredded cheese.
3. Mix well until all ingredients are fully incorporated.
4. Transfer the mixture to a 9×13 inch baking dish.
5. Bake for 25-30 minutes or until hot and bubbly.
Cooking Time: 25-30 minutes
Servings: 8-10
Traditional Mormon Green Jell-O Salad
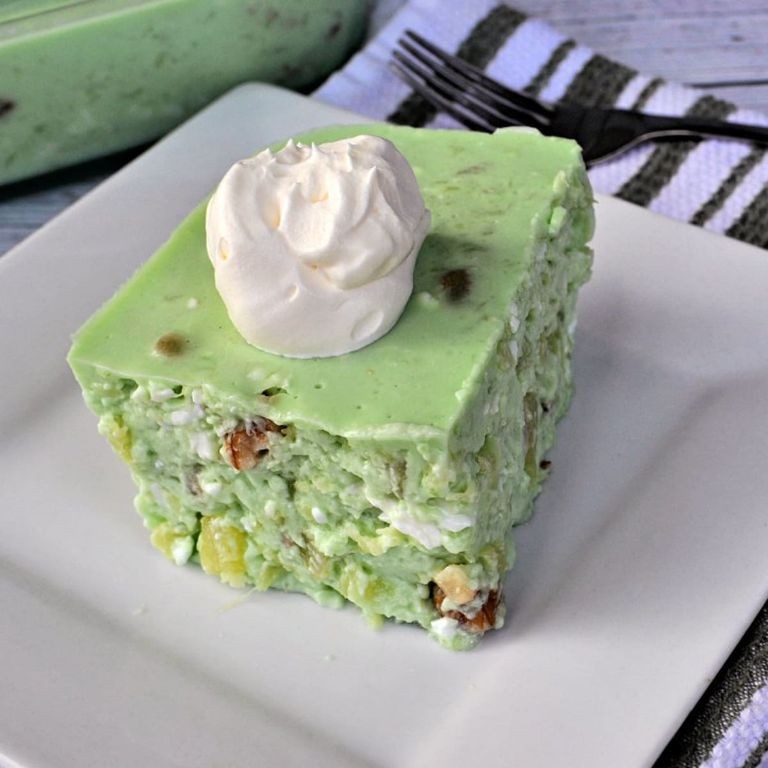
A classic dessert salad that’s a staple at many Mormon gatherings and family reunions. This refreshing treat is perfect for hot summer days or special occasions.
Ingredients:
– 1 cup boiling water
– 1 envelope (0.25 oz) unsweetened green Jell-O
– 1 cup cold water
– 1 can (14.5 oz) mandarin oranges, drained and sliced
– 1 cup heavy cream whipped to stiff peaks
– 1/2 cup mini marshmallows
– 1/4 cup chopped pecans or walnuts
Instructions:
1. In a large bowl, dissolve the green Jell-O in boiling water.
2. Add cold water to the mixture and stir until the Jell-O is fully dissolved.
3. Refrigerate until chilled and set (about 3 hours).
4. Fold in the whipped cream, mandarin oranges, mini marshmallows, and chopped nuts.
5. Pour into individual serving cups or a large serving dish.
6. Chill for at least 30 minutes before serving.
Cooking Time: 3 hours (Jell-O setting time) + whipping cream time
Fluffy Mormon Buttermilk Pancakes

These classic pancakes are a staple of Morman cuisine, and with good reason – they’re incredibly light and flavorful! This recipe yields a batch of fluffy buttermilk pancakes that are perfect for breakfast or brunch.
Ingredients:
– 1 1/2 cups all-purpose flour
– 3 1/2 teaspoons baking powder
– 1 teaspoon salt
– 1 cup granulated sugar
– 1/2 cup unsalted butter, melted
– 1 cup buttermilk
– 2 large eggs
– 1 teaspoon vanilla extract
Instructions:
1. Preheat your griddle or frying pan to medium-high heat.
2. In a large bowl, whisk together flour, baking powder, salt, and sugar.
3. In a separate bowl, whisk together melted butter, buttermilk, eggs, and vanilla extract.
4. Pour the wet ingredients into the dry ingredients and stir until just combined. The batter should still be slightly lumpy.
5. Drop 1/4 cupfuls of batter onto the preheated griddle or frying pan.
6. Cook for 2-3 minutes on the first side, until bubbles appear on the surface and edges start to dry.
7. Flip and cook an additional 1-2 minutes, until golden brown.
Cooking Time: 4-5 minutes per batch
Warm Mormon Cinnamon Rolls

Warm Mormon Cinnamon Rolls Recipe
These soft, gooey, and sweet cinnamon rolls are a beloved tradition among the Mormon community. They’re perfect for breakfast or as a sweet treat any time of day.
Ingredients:
– 2 cups all-purpose flour
– 1 teaspoon salt
– 1/4 cup sugar
– 1 packet active dry yeast (2 1/4 teaspoons)
– 1/2 cup warm water (about 100°F)
– 1/4 cup unsalted butter, melted
– 1/2 cup brown sugar
– 1 tablespoon ground cinnamon
– Confectioners’ sugar for dusting
Instructions:
1. Preheat oven to 375°F.
2. In a large mixing bowl, combine flour, salt, and sugar.
3. Proof yeast by adding warm water; let sit for 5-7 minutes until foamy.
4. Add melted butter, brown sugar, and cinnamon to the mixture. Mix until a sticky dough forms.
5. Knead dough on floured surface for 5-7 minutes until smooth and elastic.
6. Roll out dough into a rectangle, about 1/4 inch thick.
7. Spread with softened butter and sprinkle with cinnamon sugar.
8. Roll up tightly, cut into 12 equal pieces, and place on baking sheet lined with parchment paper.
9. Bake for 18-20 minutes or until golden brown.
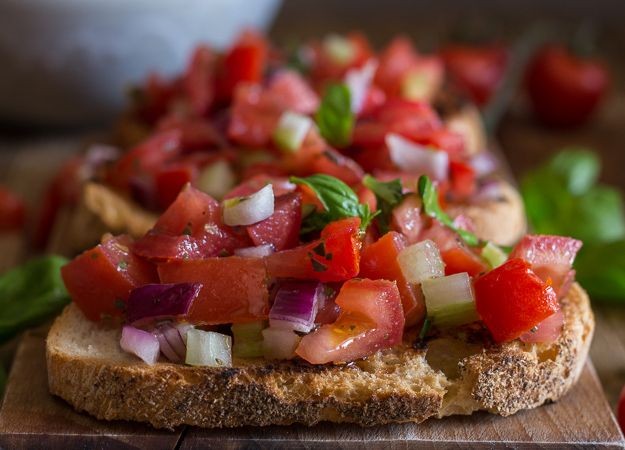
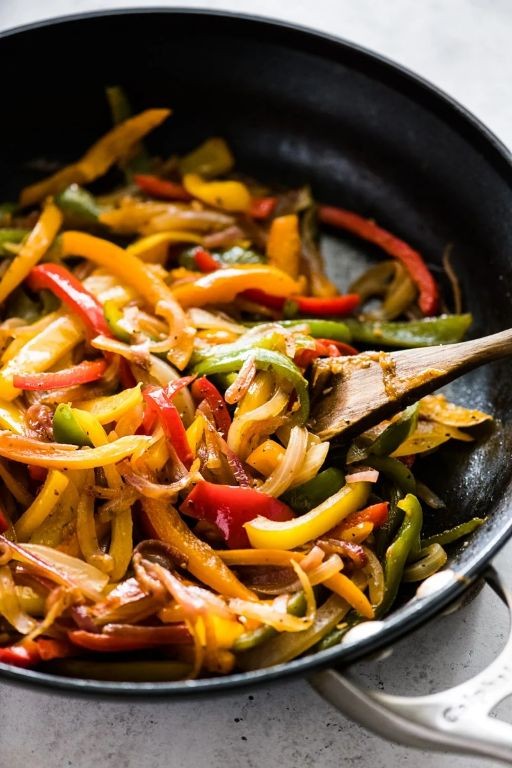
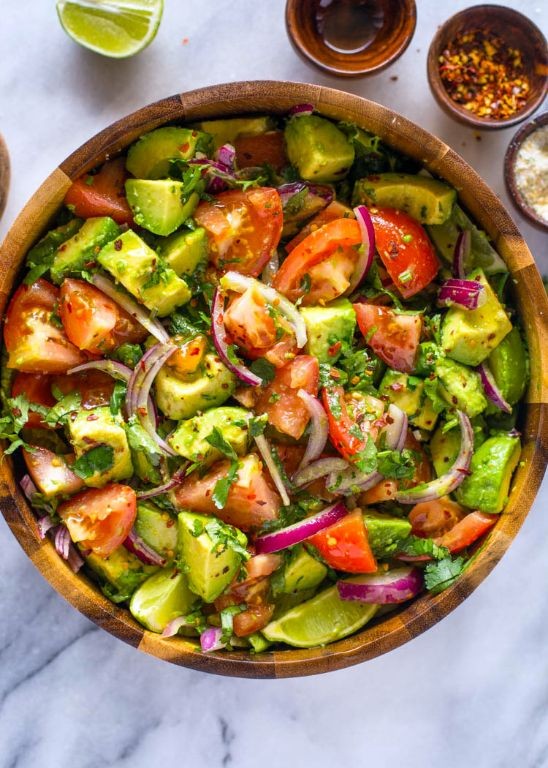
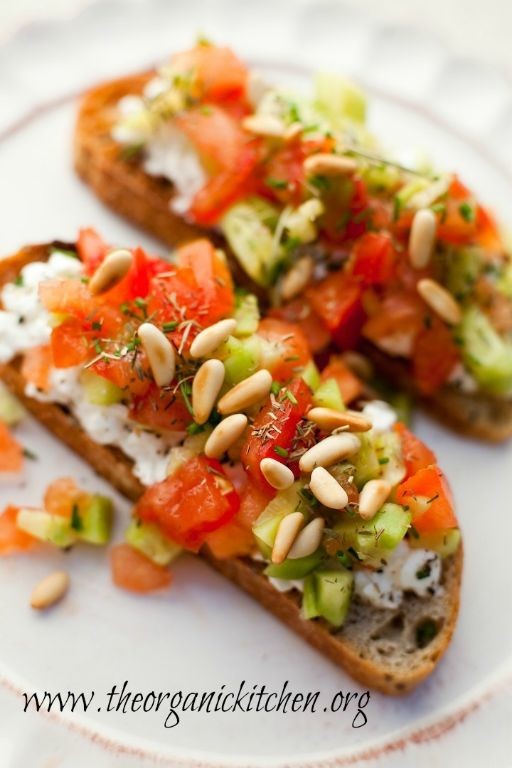
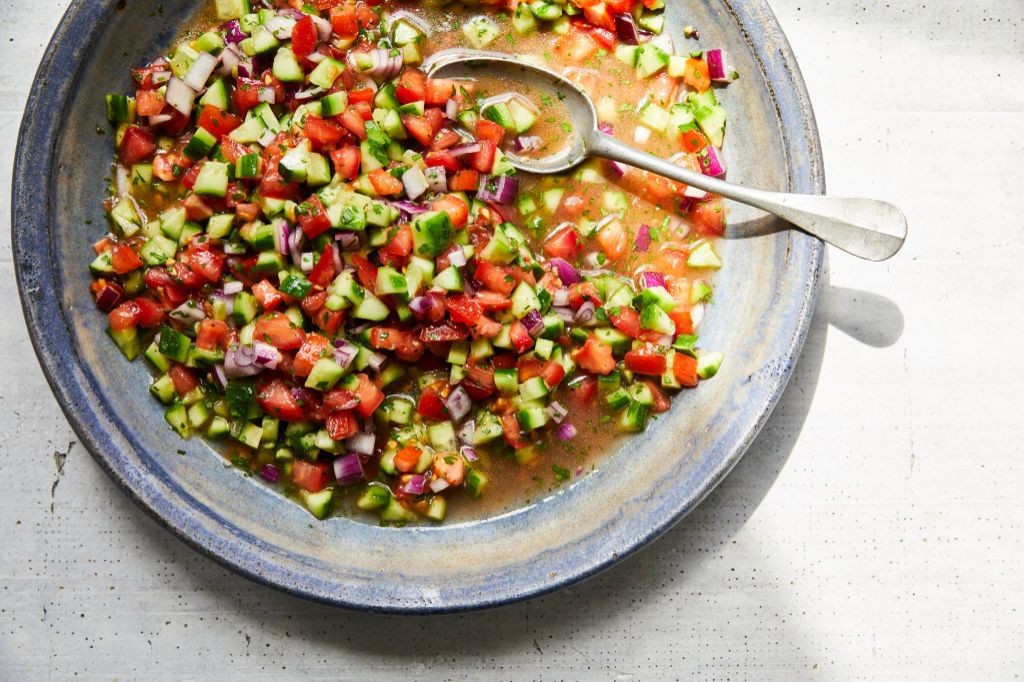
Zesty Mormon Salsa with Fresh Vegetables
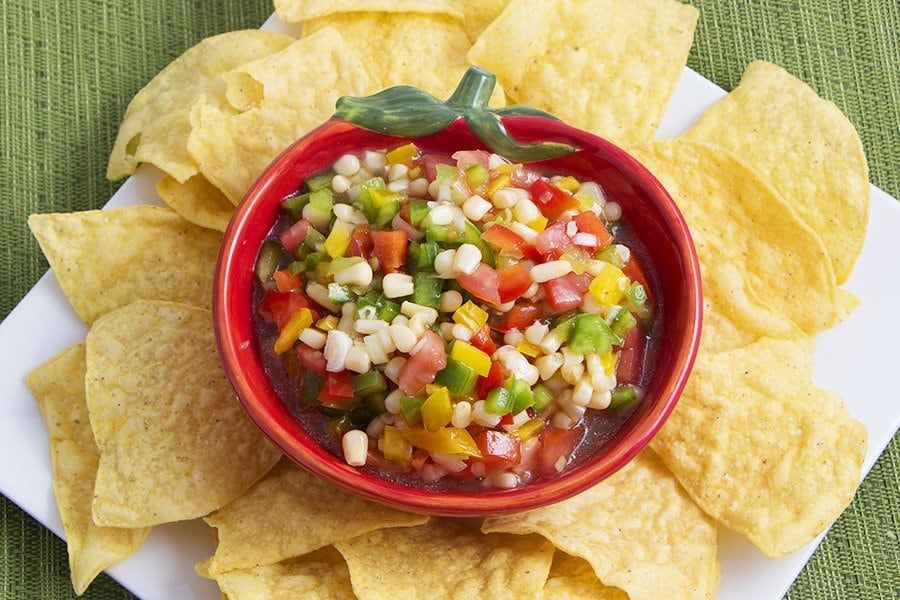
A flavorful and refreshing twist on traditional salsa, this recipe combines the sweetness of fresh vegetables with a zesty kick from jalapeños.
Ingredients:
– 2 cups diced tomatoes (fresh or canned)
– 1 cup diced red bell pepper
– 1/2 cup diced yellow onion
– 1 jalapeño pepper, seeded and finely chopped
– 1 tablespoon olive oil
– 2 tablespoons lime juice
– Salt and pepper to taste
– Optional: cilantro leaves for garnish
Instructions:
1. In a medium-sized bowl, combine the diced tomatoes, red bell pepper, and yellow onion.
2. Add the chopped jalapeño pepper and stir gently.
3. Drizzle the olive oil over the mixture and toss to coat.
4. Squeeze the lime juice over the salsa and season with salt and pepper to taste.
5. Cover and refrigerate for at least 30 minutes to allow flavors to meld together.
Cooking Time: None, as this is a fresh salsa recipe!
Serve: Enjoy your zesty Mormon salsa with tortilla chips, on tacos, or as a topping for grilled meats or vegetables.
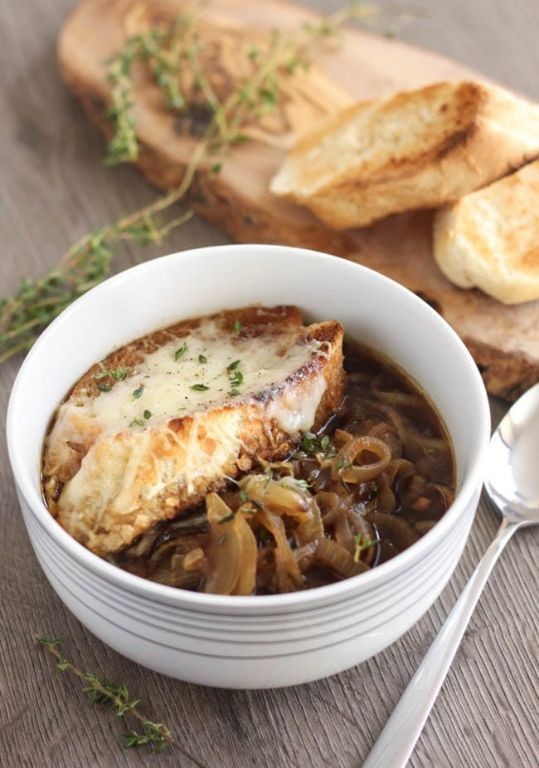
Comforting Mormon Chicken Noodle Soup
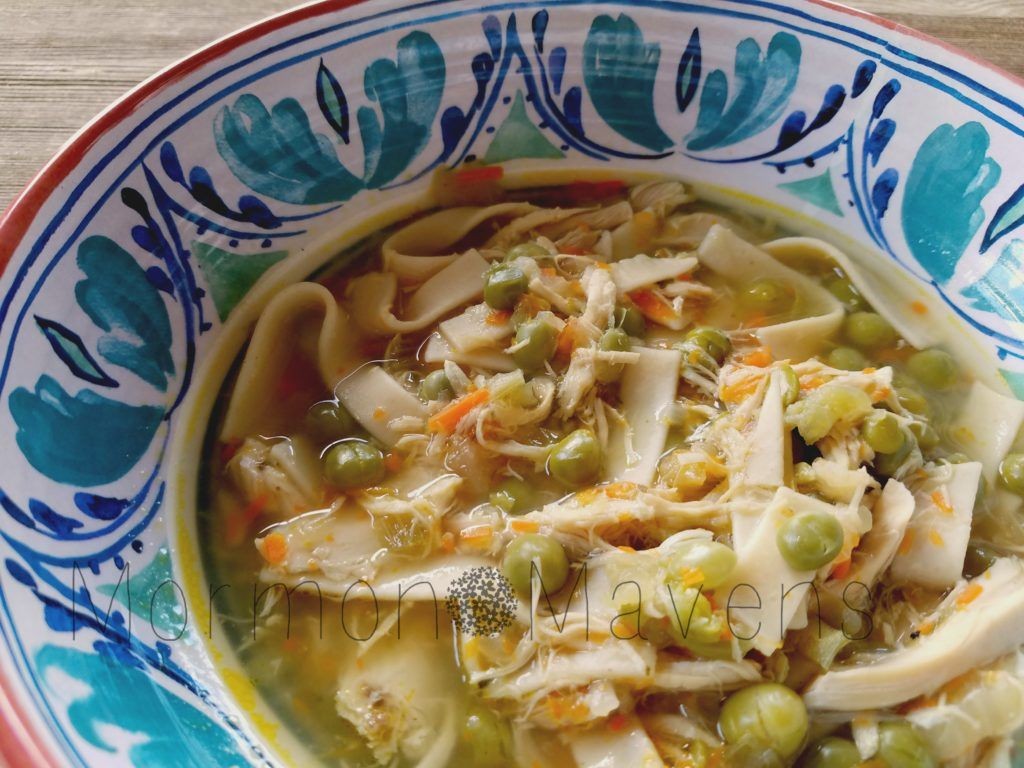
This hearty soup recipe is a staple of many Mormon households, perfect for warming up on a chilly day or serving at a family gathering.
Ingredients:
– 1 pound boneless, skinless chicken breast or thighs
– 4 cups chicken broth
– 1 medium onion, diced
– 2 cloves garlic, minced
– 1 cup small pasta shapes (e.g., egg noodles, ditalini)
– 1 teaspoon dried thyme
– 1/2 teaspoon paprika
– Salt and pepper to taste
– 2 tablespoons butter
Instructions:
1. In a large pot or Dutch oven, sauté the onion and garlic in butter until softened.
2. Add the chicken and cook until browned on all sides.
3. Pour in the chicken broth, thyme, paprika, salt, and pepper. Bring to a boil, then reduce heat and simmer for 30 minutes.
4. Add the pasta shapes and continue to simmer for an additional 10-15 minutes, or until the noodles are cooked through.
5. Serve hot, garnished with chopped fresh herbs if desired.
Cooking Time: 45-50 minutes
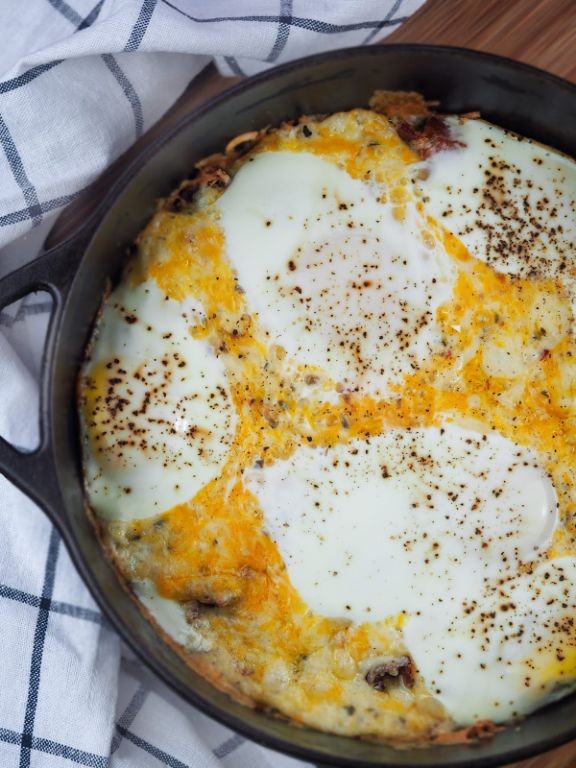
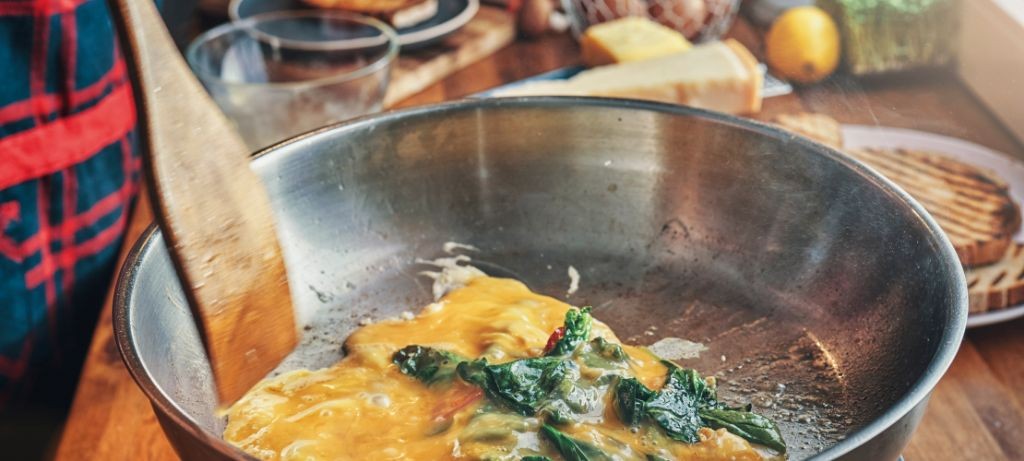
Cheesy Mormon Breakfast Casserole
A hearty, comforting breakfast casserole that’s perfect for family gatherings or a busy morning on-the-go.
Ingredients:
– 1 cup hash browns, thawed
– 1/2 cup milk
– 1/4 cup shredded cheddar cheese
– 1/4 cup grated mozzarella cheese
– 6 eggs
– 1/2 teaspoon salt
– 1/4 teaspoon black pepper
– 1/2 cup cooked sausage, crumbled (such as breakfast links or Italian sausage)
– 1 cup frozen peas and carrots
Instructions:
1. Preheat oven to 350°F.
2. In a large bowl, combine hash browns, milk, cheddar cheese, mozzarella cheese, eggs, salt, and pepper. Mix well.
3. Add cooked sausage and frozen vegetables; stir until combined.
4. Pour mixture into a 9×13-inch baking dish.
5. Bake for 35-40 minutes or until the casserole is set and golden brown.
Cooking Time: 35-40 minutes
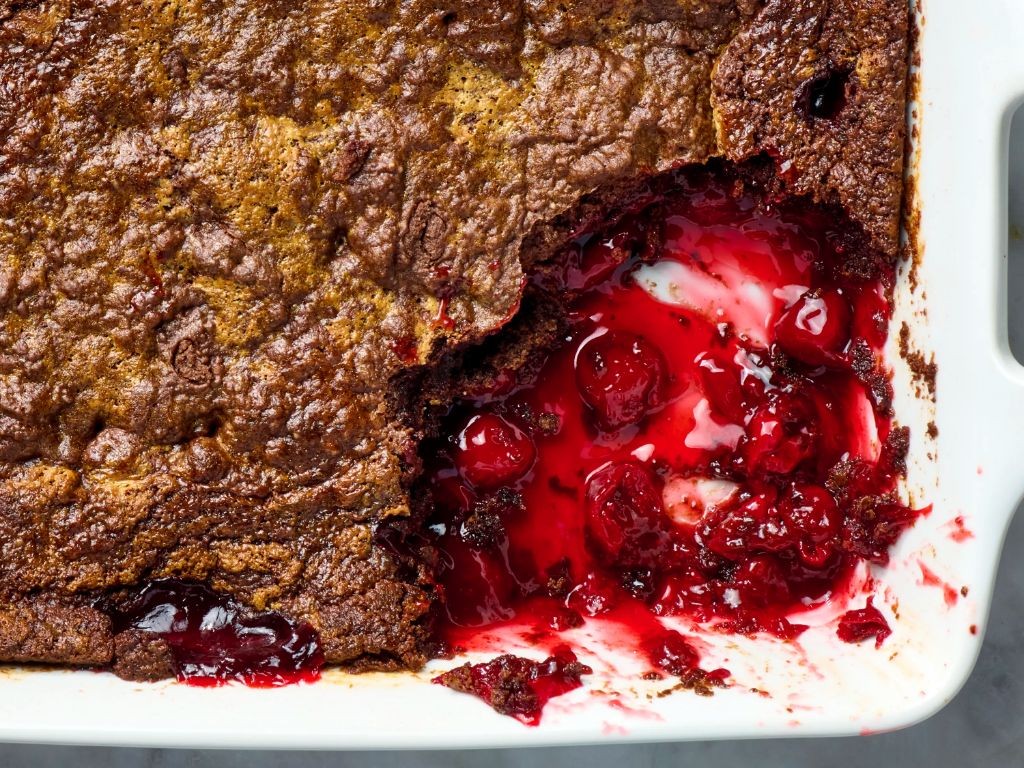
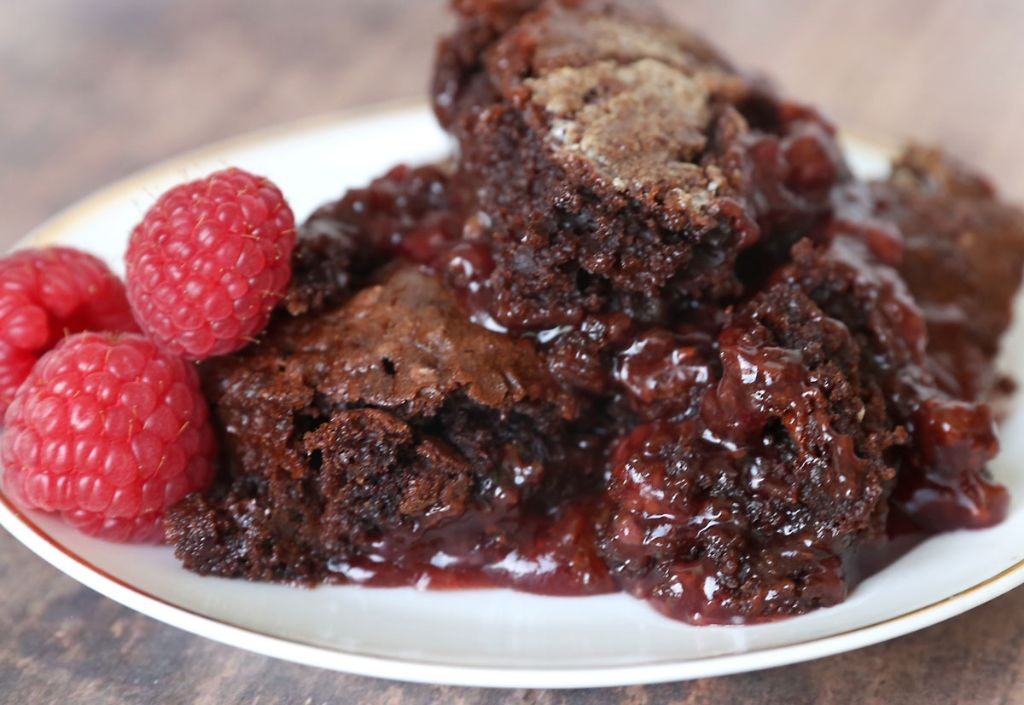
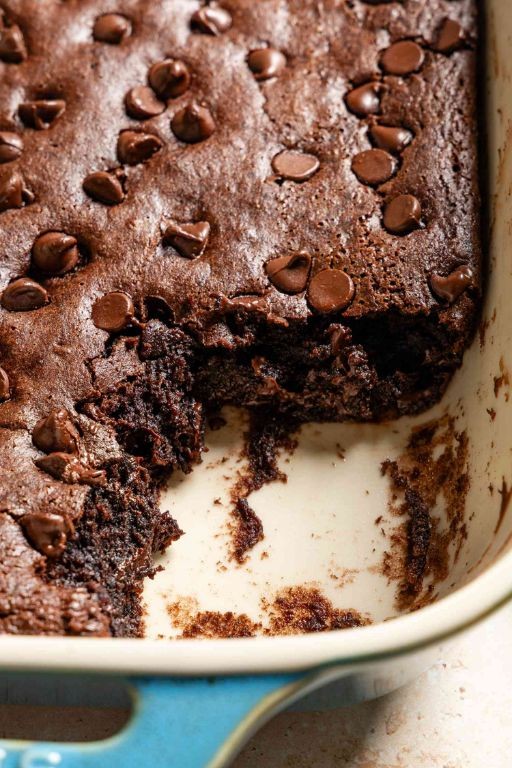
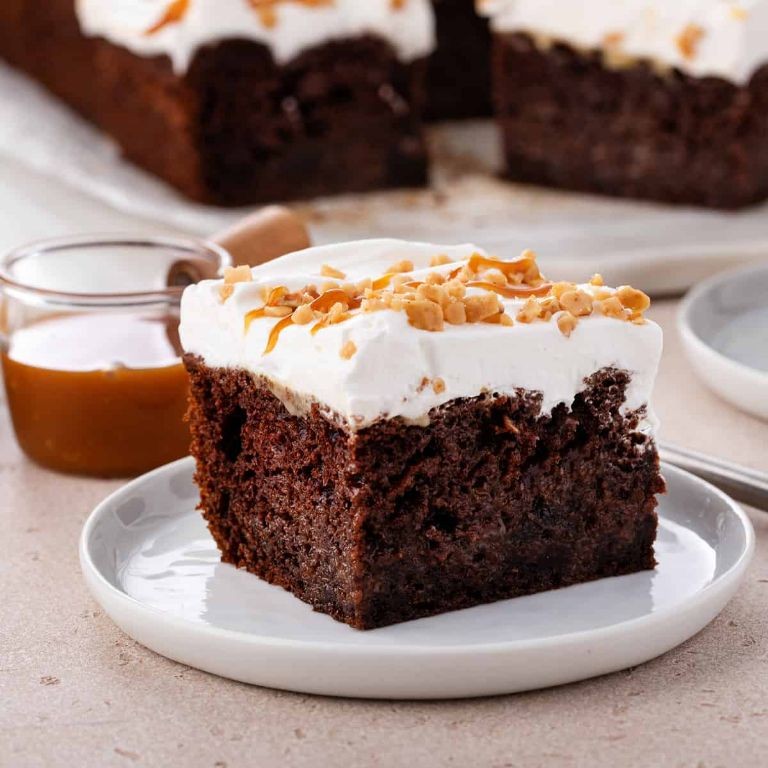
Decadent Mormon Chocolate Sheet Cake

Moist and rich, this cake is a true delight for any chocolate lover.
Ingredients:
– 2 1/4 cups all-purpose flour
– 1 1/2 cups granulated sugar
– 3/4 cup unsweetened cocoa powder
– 1 teaspoon baking powder
– 1/2 teaspoon salt
– 1 cup whole milk, at room temperature
– 2 large eggs, at room temperature
– 1 teaspoon vanilla extract
– 1 cup semi-sweet chocolate chips
Instructions:
1. Preheat oven to 350°F (175°C). Grease a 15×10-inch jelly roll pan and line with parchment paper.
2. In a medium bowl, whisk together flour, sugar, cocoa powder, baking powder, and salt.
3. In a large bowl, whisk together milk, eggs, and vanilla extract.
4. Add the dry ingredients to the wet ingredients and stir until just combined.
5. Melt the chocolate chips in a microwave-safe bowl in 30-second increments, stirring between each interval, until smooth.
6. Pour the batter into the prepared pan and spread evenly.
7. Drizzle the melted chocolate over the top of the cake.
8. Bake for 35-40 minutes or until a toothpick inserted comes out clean.
Cooking Time: 35-40 minutes
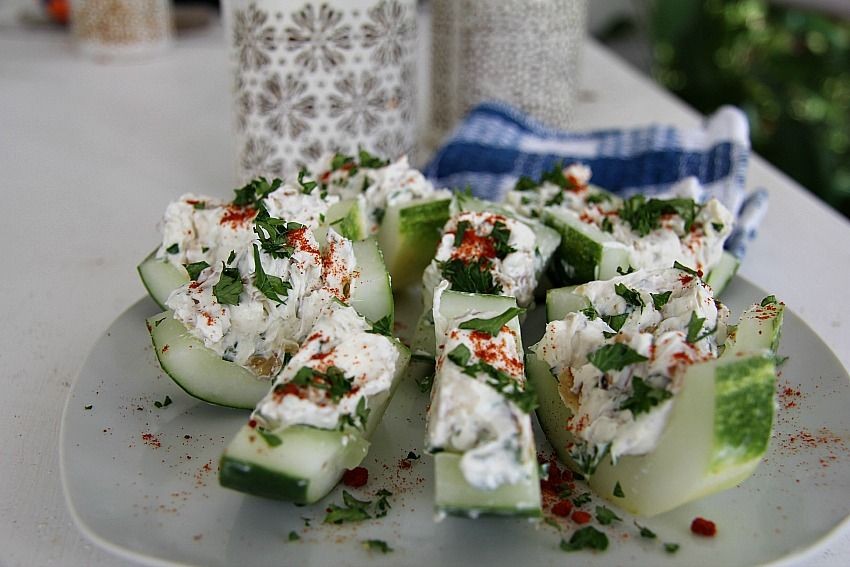
Spicy Mormon Cowboy Caviar
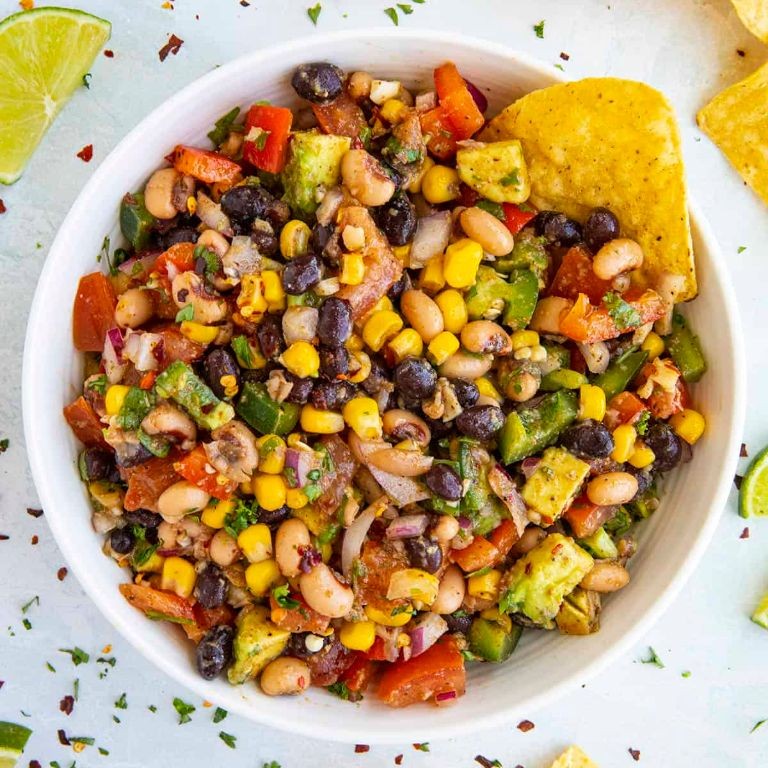
Elevate your snack game with this bold and zesty caviar inspired by the rugged spirit of the American West.
Ingredients:
– 1 (8 oz) container of cream cheese, softened
– 1/4 cup of finely chopped fresh cilantro
– 2 tablespoons of hot sauce (such as Frank’s RedHot)
– 1 tablespoon of lemon juice
– 1/2 teaspoon of garlic powder
– Salt and pepper to taste
– 1/4 cup of crumbled cooked bacon
Instructions:
1. In a medium-sized bowl, mix together the softened cream cheese, chopped cilantro, hot sauce, lemon juice, and garlic powder until well combined.
2. Season with salt and pepper to taste.
3. Fold in the crumbled cooked bacon until evenly distributed.
4. Cover and refrigerate for at least 30 minutes to allow flavors to meld.
5. Serve chilled or at room temperature.
Cooking Time: None required! This caviar is ready when you are.
Refreshing Mormon Fruit Salad

A light and revitalizing fruit salad perfect for warm weather gatherings or as a healthy snack any time of the year.
Ingredients:
– 1 cup fresh pineapple, diced
– 1 cup fresh strawberries, hulled and sliced
– 1 cup fresh grapes, halved
– 1 cup fresh kiwi, peeled and diced
– 2 tablespoons honey
– 2 tablespoons freshly squeezed lime juice
Instructions:
1. In a large bowl, combine pineapple, strawberries, grapes, and kiwi.
2. In a small bowl, whisk together honey and lime juice until well combined.
3. Pour the honey-lime dressing over the fruit mixture and toss gently to coat.
4. Cover and refrigerate for at least 30 minutes to allow flavors to meld.
5. Serve chilled or at room temperature.
Cooking Time: None! Just prepare, refrigerate, and serve!
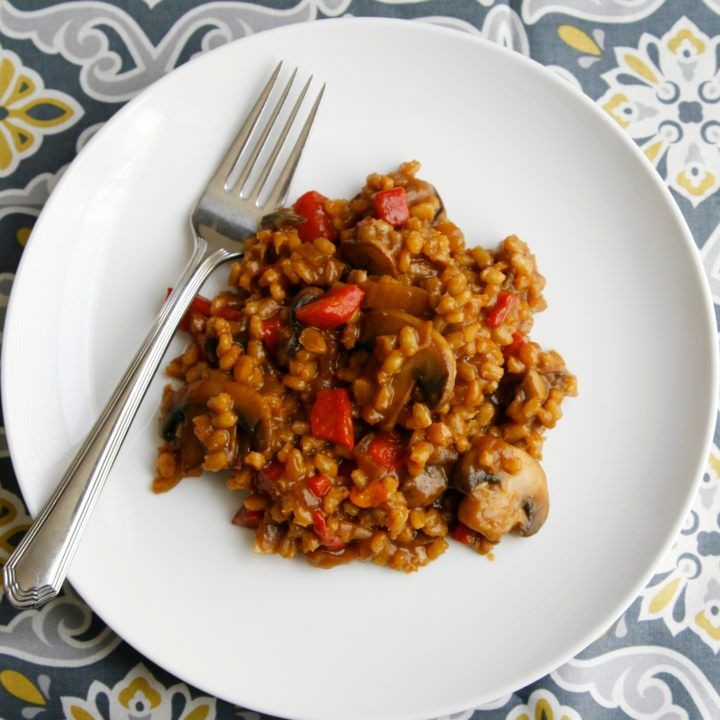
Hearty Mormon Beef and Bean Chili
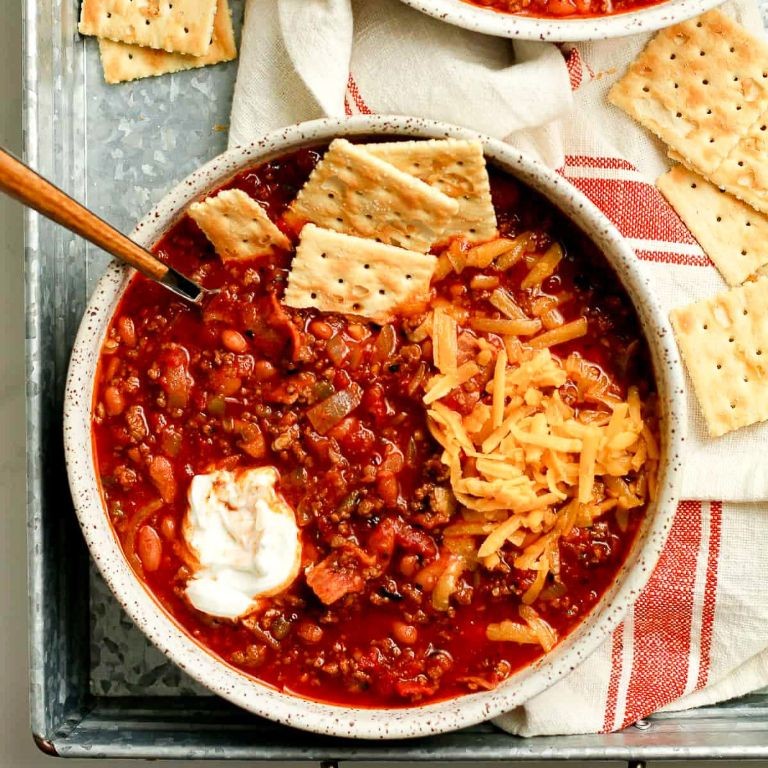
A classic comfort food dish that’s perfect for a chilly evening or a family gathering. This recipe is a staple in many Mormon households, packed with tender beef, creamy beans, and rich flavor.
Ingredients:
– 1 lb ground beef
– 1 large onion, diced
– 2 cloves of garlic, minced
– 1 red bell pepper, diced
– 2 cups cooked kidney beans (canned or cooked from scratch)
– 1 can (14.5 oz) diced tomatoes
– 1 cup beef broth
– 1 tsp chili powder
– 1 tsp ground cumin
– Salt and pepper to taste
– Optional: jalapenos for added heat
Instructions:
1. Brown the ground beef in a large pot over medium-high heat, breaking it up into small pieces as it cooks.
2. Add the diced onion, minced garlic, and red bell pepper. Cook until the vegetables are softened.
3. Stir in the cooked kidney beans, diced tomatoes, beef broth, chili powder, and cumin.
4. Bring the mixture to a simmer and let cook for 20-25 minutes or until the flavors have melded together.
5. Season with salt and pepper to taste. Serve hot, garnished with chopped fresh cilantro if desired.
Cooking Time: 25-30 minutes
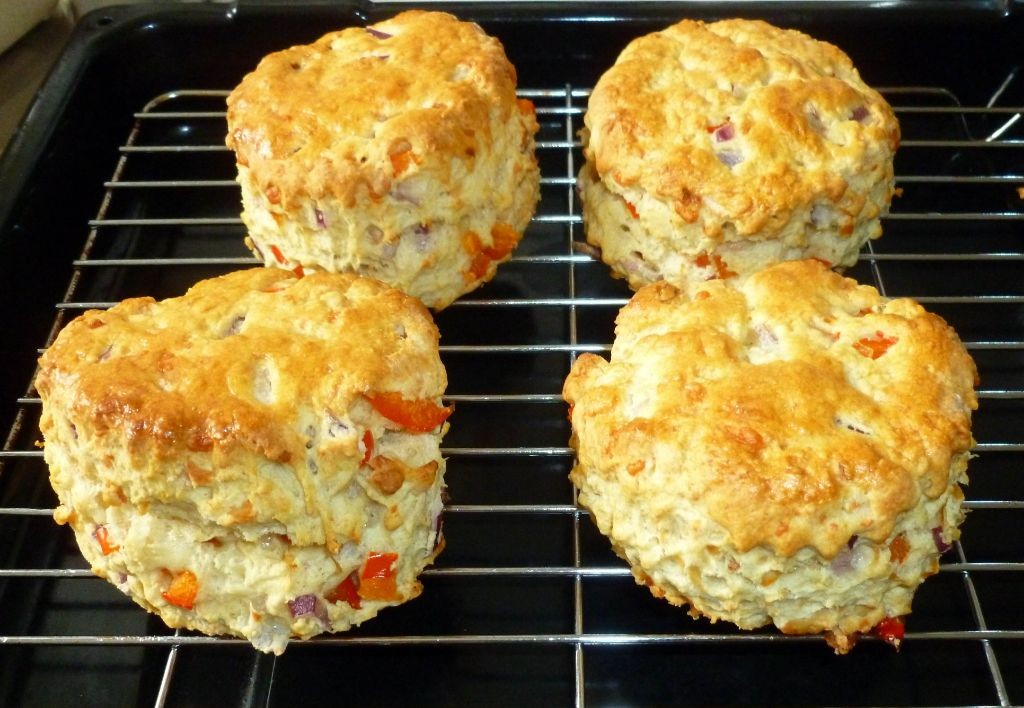
Golden Mormon Cornbread with Honey Drizzle

This classic cornbread recipe from the Beehive State gets a sweet and sticky upgrade with a honey drizzle, perfect for accompanying your favorite soups or stews.
Ingredients:
– 1 cup all-purpose flour
– 1 cup yellow cornmeal
– 1 teaspoon salt
– 1/2 teaspoon baking soda
– 1/2 teaspoon baking powder
– 1 cup buttermilk
– 1 large egg
– 2 tablespoons unsalted butter, melted
– Honey for drizzling
Instructions:
1. Preheat oven to 400°F (200°C). Grease an 8-inch square baking dish.
2. In a medium bowl, whisk together flour, cornmeal, salt, baking soda, and baking powder.
3. In a large bowl, whisk together buttermilk, egg, and melted butter.
4. Add the dry ingredients to the wet ingredients and stir until just combined.
5. Pour into prepared baking dish and bake for 20-25 minutes or until golden brown.
6. While cornbread is still warm, drizzle with honey.
Cooking Time: 20-25 minutes
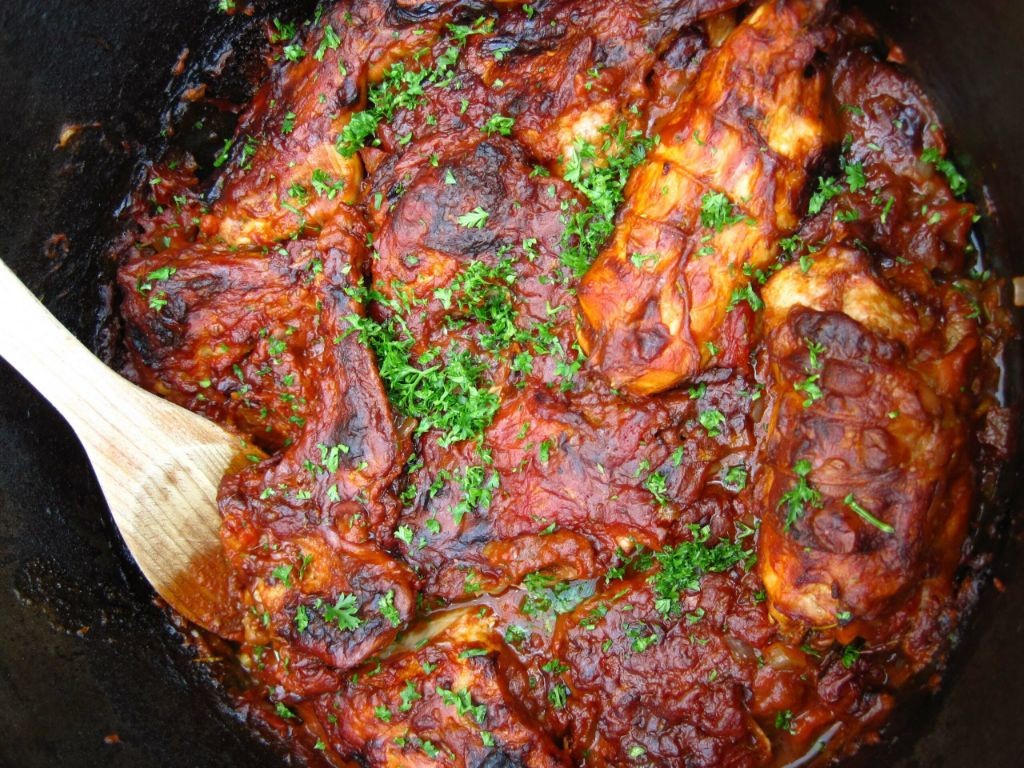
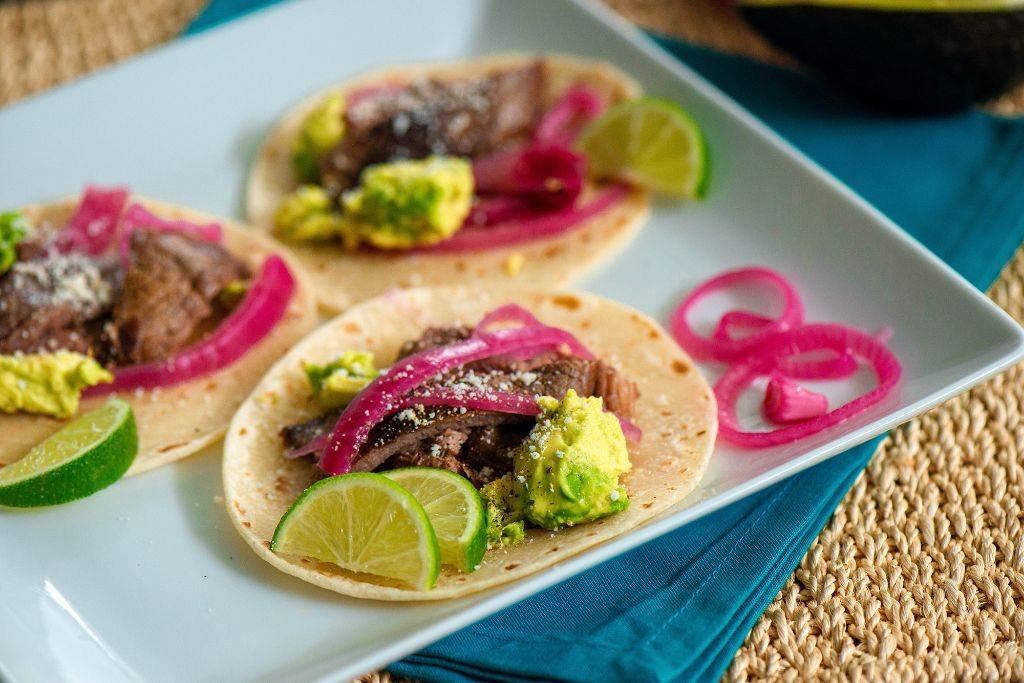
Tangy Mormon Sweet and Sour Meatballs

Tangy Mormon Sweet and Sour Meatballs Recipe
A twist on a classic, these sweet and sour meatballs are a staple at many Mormon gatherings. With a tangy sauce made from pineapple juice, ketchup, and soy sauce, these bite-sized treats will be a hit at your next potluck.
Ingredients:
- 1 lb ground beef
- 1/2 cup breadcrumbs
- 1 egg
- 1/4 cup milk
- 1 tsp onion powder
- 1 tsp garlic powder
- 1/2 tsp salt
- Sweet and Sour Sauce (see below)
- Baking sheet lined with parchment paper
Instructions:
- Precise 1-inch meatballs on the baking sheet, leaving space between each.
- Bake at 375°F for 12-15 minutes or until cooked through.
- In a separate saucepan, combine Sweet and Sour Sauce ingredients. Bring to a boil, then reduce heat and simmer for 5 minutes.
- Remove meatballs from oven and toss with Sweet and Sour Sauce while still warm.
Cooking Time: 20-25 minutes
Sweet and Sour Sauce:
- 1 cup ketchup
- 1/2 cup pineapple juice
- 2 tbsp soy sauce
- 2 tbsp brown sugar
- 1 tsp grated ginger
- 1/4 tsp red pepper flakes (optional)
Enjoy!
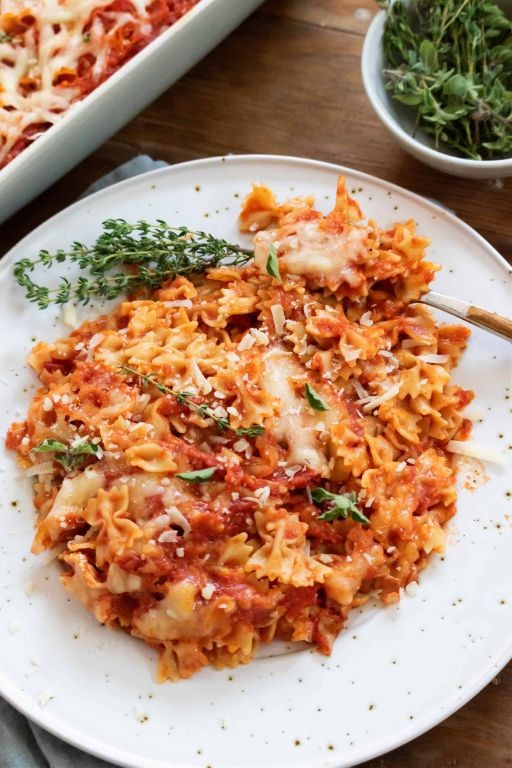
Creamy Mormon Macaroni and Cheese
A comforting classic gets a Mormon twist with the addition of crispy fried onions and a hint of paprika. This creamy macaroni and cheese dish is sure to become a family favorite.
Ingredients:
– 8 oz macaroni
– 2 cups milk
– 1 cup grated cheddar cheese
– 1/2 cup grated mozzarella cheese
– 1/4 cup all-purpose flour
– 1 tsp paprika
– Salt and pepper, to taste
– 1/4 cup crispy fried onions (see note)
Instructions:
1. Preheat oven to 375°F.
2. Cook macaroni according to package instructions until al dente. Drain and set aside.
3. In a large saucepan, melt butter over medium heat. Add flour and whisk together to make a roux, cooking for 1 minute.
4. Gradually add milk, whisking constantly to avoid lumps. Bring mixture to a simmer and cook until thickened, about 5 minutes.
5. Remove from heat and stir in cheddar and mozzarella cheese until melted and smooth. Season with paprika, salt, and pepper.
6. Combine cooked macaroni and cheese sauce. Transfer to a baking dish and top with crispy fried onions.
7. Bake for 20-25 minutes or until golden brown.
Note: To make crispy fried onions, thinly slice 1/2 cup of yellow onion rings and fry in hot oil (350°F) until golden and crispy. Drain on paper towels.
Savory Mormon Shepherd’s Pie
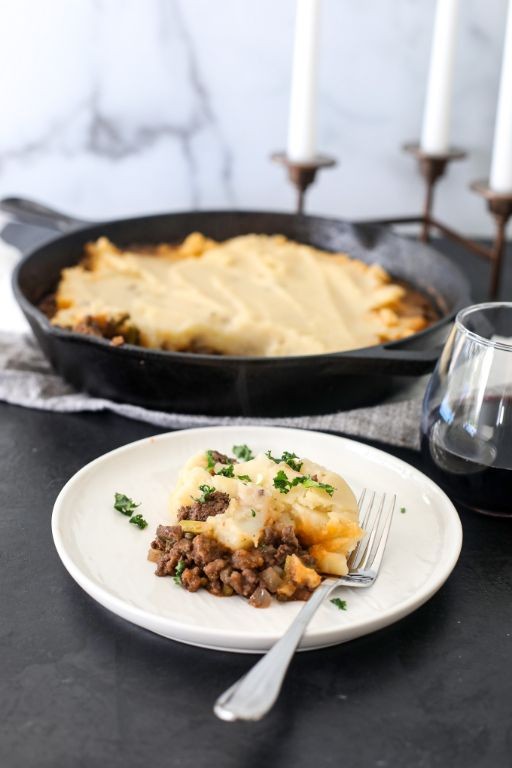
A hearty, comforting dish perfect for a family gathering or a cozy night in.
Ingredients:
– 1 lb ground beef
– 1 onion, diced
– 2 cloves garlic, minced
– 1 cup frozen peas and carrots
– 1 cup beef broth
– 2 tbsp tomato paste
– 2 tbsp all-purpose flour
– 2 tsp dried thyme
– Salt and pepper to taste
– 2 cups mashed potatoes
– 2 tbsp butter
Instructions:
1. Preheat oven to 375°F.
2. Cook ground beef, onion, and garlic in a large skillet over medium-high heat until browned, breaking into small pieces as it cooks.
3. Add peas and carrots, beef broth, tomato paste, flour, thyme, salt, and pepper to the skillet. Stir until combined.
4. Transfer mixture to a 9×13 inch baking dish.
5. Spread mashed potatoes over the top of the meat mixture.
6. Dot with butter.
7. Bake for 25-30 minutes or until potatoes are golden brown.
Cooking Time: 25-30 minutes
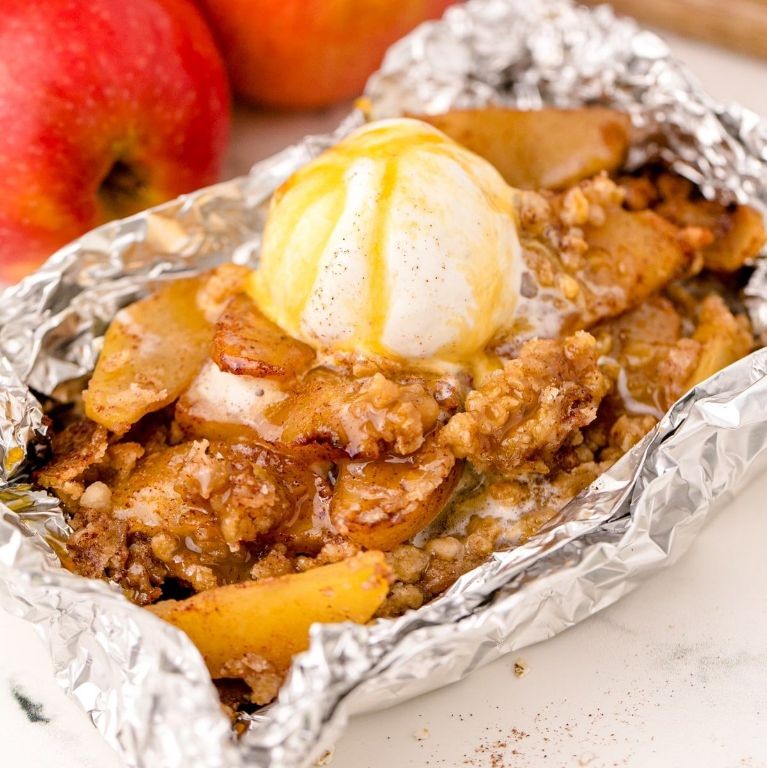
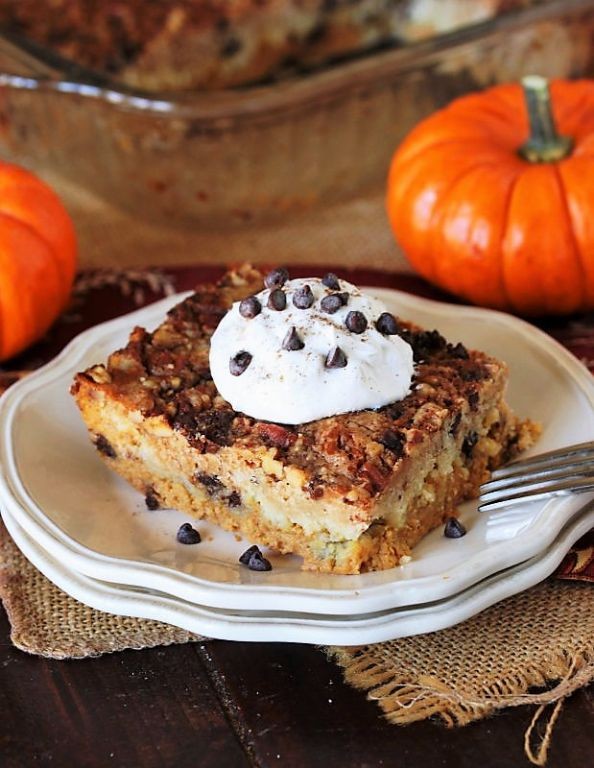
Sweet Mormon Apple Crisp with Oat Topping

Sweet Mormon Apple Crisp with Oat Topping Recipe
——————————————————–
This classic recipe combines tender apples with a crunchy oat topping, perfect for a warm and comforting dessert. With just the right balance of sweet and tart, this apple crisp is sure to please.
Ingredients:
– 6-8 medium-sized apples, peeled and sliced
– 1/2 cup granulated sugar
– 2 tablespoons all-purpose flour
– 1 teaspoon cinnamon
– 1/4 teaspoon nutmeg
– 1/4 teaspoon salt
– 1/2 cup rolled oats
– 1/2 cup brown sugar
– 1/2 cup cold butter, cut into small pieces
Instructions:
1. Preheat oven to 375°F (190°C).
2. In a large mixing bowl, combine sliced apples, granulated sugar, flour, cinnamon, nutmeg, and salt.
3. Transfer the apple mixture to a 9×9-inch baking dish.
4. In another bowl, mix rolled oats, brown sugar, and cold butter until crumbly.
5. Top the apple mixture with the oat topping.
6. Bake for 35-40 minutes or until the apples are tender and the topping is golden brown.
Cooking Time: 35-40 minutes
Rich Mormon Caramel Popcorn Balls

A sweet and indulgent treat perfect for snacking or sharing with friends and family.
Ingredients:
– 1/2 cup light corn syrup
– 1/2 cup water
– 1 tablespoon butter
– 1 teaspoon vanilla extract
– 1/4 teaspoon baking soda
– 1/2 cup caramel sauce (homemade or store-bought)
– 6 cups popped popcorn, plain or flavored
– 1 cup white granulated sugar
– 1/4 cup light brown sugar
– Pinch of salt
Instructions:
1. Preheat oven to 250°F (120°C). Line a baking sheet with parchment paper.
2. In a medium saucepan, combine corn syrup, water, and butter. Bring to a boil over medium-high heat.
3. Reduce heat to medium-low and simmer for 5 minutes or until the mixture reaches 235°F (118°C) on a candy thermometer.
4. Remove from heat and stir in vanilla extract and baking soda. Let cool slightly.
5. Pour caramel sauce into the popcorn, stirring until well coated.
6. Mix together granulated sugar, brown sugar, and salt. Add to the popcorn mixture and stir until combined.
7. Drop by tablespoonfuls onto prepared baking sheet.
8. Bake for 1 hour or until firm to the touch.
Cooking Time: 1 hour
Summary
Get ready to savor a taste of traditional American cuisine with these 20 authentic Mormon recipes. From comforting casseroles and hearty stews to sweet treats and refreshing salads, this collection has something for everyone. Try Funeral Potatoes with Cheese and Cornflakes, Homemade Mormon Muffins with Honey Butter, or Classic Mormon Pioneer Stew. Whether you’re looking for a quick weeknight dinner or a special occasion dessert, these recipes are sure to please.